Chili Plants Soil
Basis of a great chili breeding is a suitable soil. The right substrate should have a loose and stable structure. If it dries up, it must neither compact nor clump. For a rich harvest of beautiful chillies it is worth dealing with this matter early. After all, the spicy vegetables should give rise to a lot of joy.
Soils for chili cultivation🌶
The poor growth of chillies is often due to poor soil conditions, in addition to the lack of light and sunshine. Good soil can absorb and drain excess moisture. It also provides a firm hold for the roots. Darker soils are usually enriched with more organic nutrients.
Poor, loamy Chilisoil can absorb little excess moisture through rain or wrong watering. This results in wet feet, water logging and root rot. The consequence is that the chilli will soon shrink. It is therefore worth putting on a good soil right from the start.
Chillies have slightly different demands on nutrients during their development phases. A suitable substrate supplies the plants with the right amount of water and fertilizer at all times.
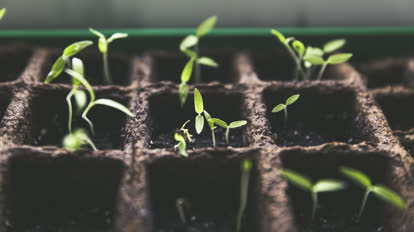
Germination phase🌶
In the phase before the germination of the chillies until the first real leaves form, the seeds should be planted in a nutrient-poor growing substrate. Harmful are nutrient salts that delay or even prevent the germination process. Growing and herb soils provide a good basis for successful germination. Also source tabs from peat or coconut, are practical and clean in the use.
Coconut spring abs are used by many experienced chili growers. They report a higher germination rate compared to peat. Perhaps the optimal pH value of 5.5 to 6.8 and the low salt content are responsible for this. After the first leaves have formed, you can simply re pot your young chili plants.
You should supply chillies grown in coconut soil with fertilizer. Here you will find a full article about the benefits of coconut soil.
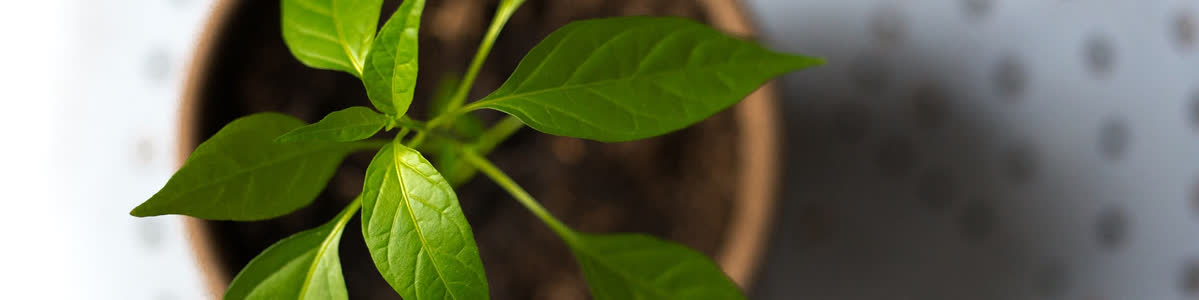
Growth phase🌶
Much sun, warmth, humidity and a well dosed fertilizer is the prerequisite for a large, fiery harvest. A good substrate absorbs the nutrients from the fertilizer and passes them on to the roots when the plant needs them. A good soil life continuously converts organic material into nutrients suitable for the plant. Coarser constituents in the substrate allow air pockets. The oxygen in the soil air is important for the root and thus for the entire plant.
The addition of sand, perlite or vermiculite can fulfil this task.
How do I recognize a good soil?🌶
Reach with both hands into the “dirt” which you would like to use. When rubbing the palms of your hands, it should feel pleasantly loose. It should crumble out of your hands. If you take a closer look at the components, you should have coarser and finer structures in a balanced proportion. The coarser material ensures good air permeability. Ideally, as with coconut fibers, a lot of water is also stored in it. The finer and lighter component ensures a good exchange with the roots.
Which Chili potting soil to buy?🌶
Tomato soils are particularly suitable for the nightshade plant. High bed soil and vegetable soil are also a good basis. Do not reach for very cheap soil, it is usually not worth it, because important properties are missing. Tip: If you want to save money, stock up in winter. Remaining spring stock is often sold at low prices in DIY stores.
You can get soil suitable for peppers and chili plants in DIY stores and garden centers. In the mail order business you get special soils, but this is offset by the higher shipping costs.
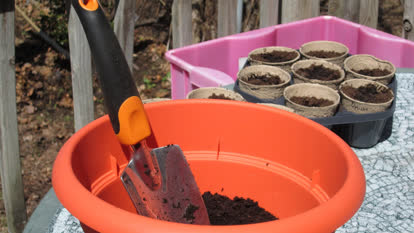
Mix yourself🌶
A proven earth mixture for chili, paprika and tomatoes looks like this. We put it in a large tub or bucket:
- 6 parts vegetables or raised bed soil
- 1 part perlite
- 1 part vermiculite
- 1 part chicken or horse manure
- 1 part sand or grit
A simpler mixture is
- 80 % tomato earth
- 10 % vermiculite
- 10 % Perlite
- The soil can be improved with horn shavings, dolomite or primary rock flour.
Problems with soils🌶
Mould often causes problems in indoor breeding when there is too much water. In greenhouses, the substrate has to be ventilated regularly. Simply remove the hood once or twice a day for about 15 minutes.
You can sterilize soil in the oven or microwave. So far we have reliably killed fly eggs, bacteria and fungal spores in the oven. This works reliably at 120 °C for around two hours. A temperature of 70 °C should be reached in the core of the earth.
In the garden, remember to loosen up the soil before planting out. If necessary, dig under sand, horse manure or raised soil.